HVAC Maintenance: How to Change Indoor Air Filters
One of the easiest HVAC maintenance tasks homeowners can tackle is changing indoor air filters. It doesn’t require a lot of tools and takes just six steps. Changing your filters regularly can prevent
- dirty air circulating in your home,
- excess wear and tear on your HVAC system, and
- unexpected air conditioning and heating shutdowns.
HVAC experts recommend changing indoor air filters once every three months, more often if you have pets. It’s a good rule of thumb to change them every time the seasons change. Order your filters online for the year, and you’ll always have a supply ready to go!
Best of all, it takes about 10 minutes per filter, once you have your filters in hand and are ready to go.
Here’s what you need to get started:
- Disposable air filters 8-11 MERV (any brand). We don’t recommend the multi-layer, reusable filters because it’s hard to get them clean enough for re-use.
- Vacuum cleaner and/or dust rag.
- Pen or marker to document the date of installation.
If you have a ductless system in place of or in addition to your central air and heating system, we have a DIY tutorial showing how to clean the reusable filters in the hanging unit on the wall.
Step 1 – Locate the Return Air Vents
Most central air and heating systems have at least one return air vent, sometimes more. This means you may have multiple filters to change.
If you’re not sure which vents these are, these are the larger vents that take air in — not the ones that blow it out. They are often located on the wall. Occasionally they are located in the ceiling.
Step 2 – Vacuum or dust the return air vent cover
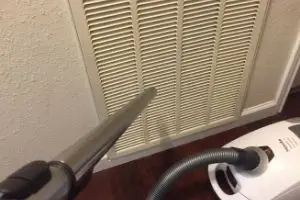
If you haven’t replaced your air filters in a while, it’s possible that you may need to vacuum the return air vent cover. If you don’t have a vacuum handy, you can always use a damp dust rag and clean off the dust from the return air vent cover.
If it is located on the wall close to the floor, the bottom may be especially dusty.
Step 3 – Open the air vent grill and remove the old filter
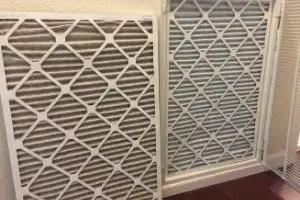
Once you are finished cleaning the outside of the air vent cover, it’s time to open it up. Now you can remove the old filter and throw it away.
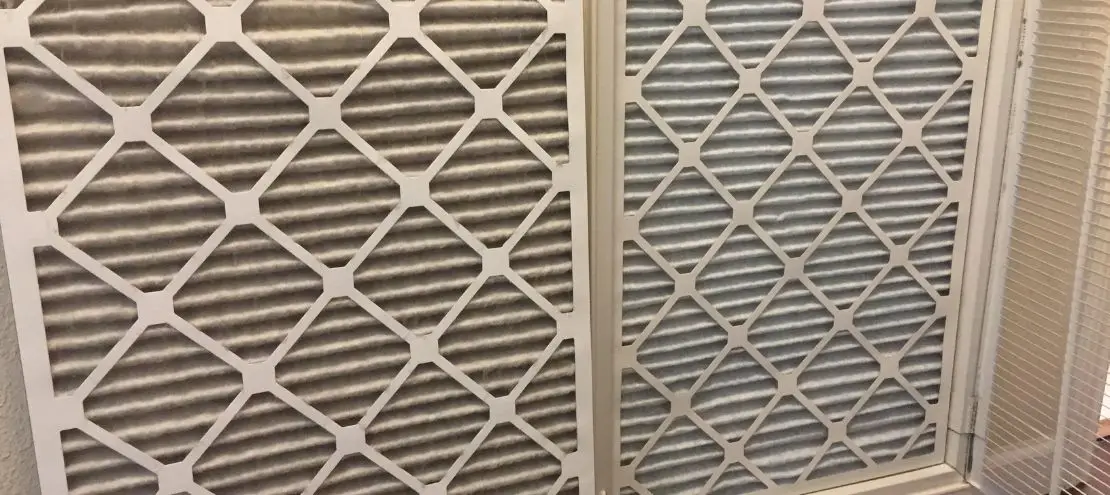
If you compare the old filter to the new filter side by side, you can see the difference a new filter will make. If you have a pet like we do, it can get pretty furry in just three months.
Step 4 – Write the installation date on the new filter
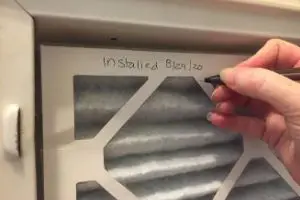
With a pen or permanent marker, write the date of installation on the filter itself. Many filters even have a spot printed right on the filter to remind you to write down the date.
Writing the date in large letters helps you down the road when you’re not sure if it is time to replace it not. It’s easy to pop open the air vent cover and peek inside. While you’re at it, set a reminder on your favorite print or online calendar for 3 months time from now.
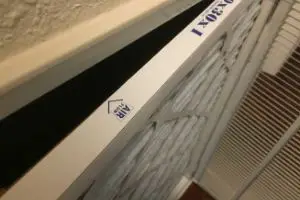
Step 5 – Look for the air flow direction indicator when you install the new filter
Each filter has an air flow direction indicator so you’re setting the filter in the the right direction. Remember that return air vent sucks in air, so it’s important to place them the correct way (front to back) for the best results.
Now that you see how your system take in or “breathes in” air, you see why having a filter that is too strong with a high MERV can be detrimental to your HVAC system’s health. When your air conditioner and heater can’t take in enough air, it can cause the whole system to breakdown.
If allergies, mold and indoor air quality are a concern, ask your HVAC technician for other options, such as UV lights, media filters and whole house air purification systems. There are limits to what passive filtration can do, which is why active air purification systems are more effective at addressing indoor air quality.

Step 6 – Install the filter and close the return air vent cover
Set the filter in the same spot as the old one so it covers the air intake completely. It’s important to get the right size filter so the filters are able to do their job. They keep your HVAC equipment clean on the inside which also keeps dust, pollen, hair and other large particles out of the circulating air in your home.
Once you have the filter in, pop the cover closed, and you’re done!
Need help with HVAC maintenance?
Changing indoor air filters is an easy DIY job for most people to accomplish. With a little coaching even your teenager can help you with this task, which will come in handy when they have a place of their own.
We recommend that a professional HVAC technician service your air conditioner and heater twice a year – in the fall and in the spring – to ensure your air conditioner and heater is ready for the winter’s chill and the summer’s heat. This is why we offer a Peace of Mind Protection plan, an HVAC scheduled service contract, to our customers to make remembering this home improvement task easier. It’s also a good time to ask questions about any indoor air quality concerns you have, since there are many options available.
Contact Rob and Kenny at Terry’s A/C & Heating at (281) 495-7830 to get on their schedule for the day. Find out more about our family-owned HVAC company that operates in Richmond, Katy, Fulshear, Sugar Land and Southwest Houston, Texas. We aim to be your indoor comfort concierge.


 For
For  Call Us:
  Text Us:


